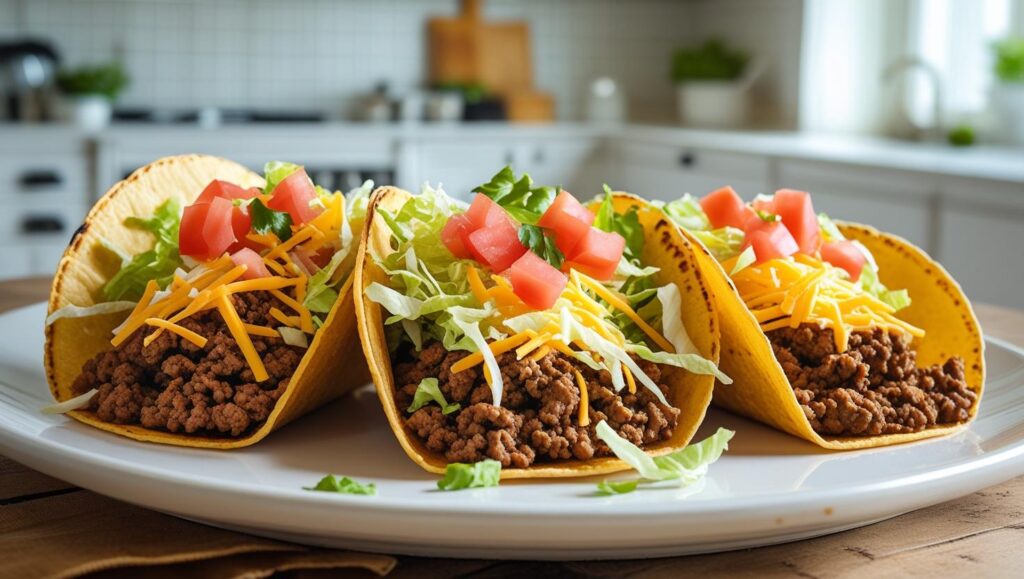
Ground beef tacos meet a quick DIY spice blend for a week-night dinner that tastes like you simmered all afternoon. Juicy beef, warm tortillas, and a stack of fresh toppings make every bite vibrant and satisfying.
If you’ve devoured our crispy fish tacos or savored the saucy punch of birria tacos, get ready—this beef version keeps the fiesta rolling with almost no prep.
Cooking at home also means you control the heat, the salt, and—best of all—the leftovers. A single pound of ground beef stretches into eight stuffed tortillas, and the extra seasoning you mix today turns a plain pot of beans or tomorrow’s scrambled eggs into a speedy flavor win. Keep a jar of it on hand and taco night can start whenever you hear the first “I’m hungry.”
Why This Recipe Works
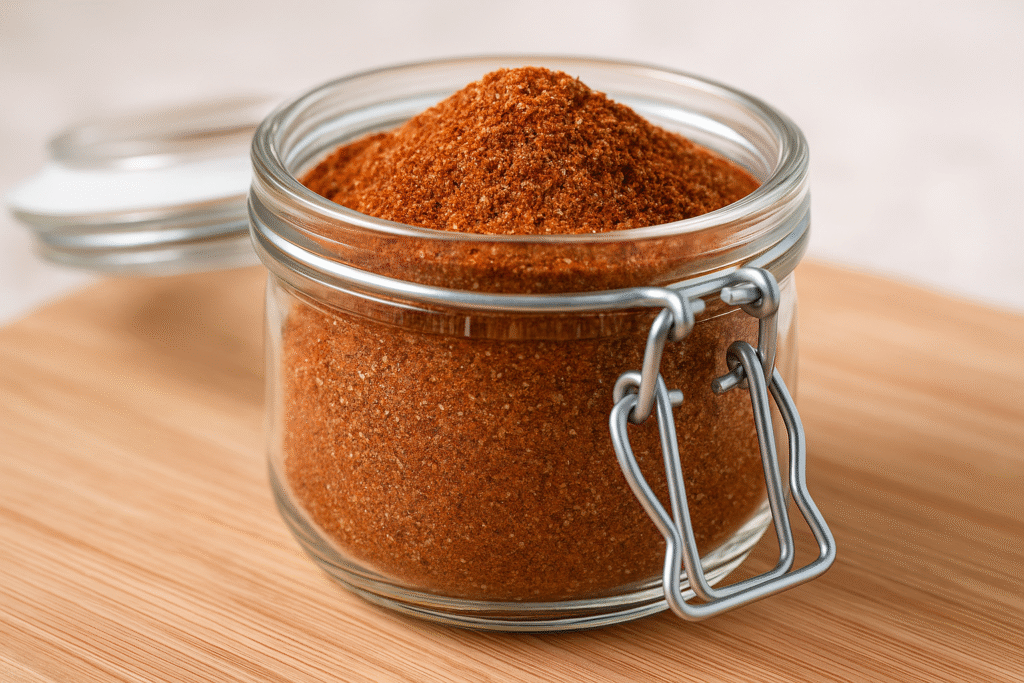
Custom spice mix, fresher flavor. Store-bought packets often rely on extra salt, anti-caking agents, and sugar. Blending your own lets the warm cumin and smoky paprika shine while you decide exactly how spicy—or mild—to go. The mix takes two minutes, makes enough for several dinners, and costs less than one branded packet.
A quick simmer builds sauciness. Adding just ¼ cup of water after the beef browns seems tiny, but that splash loosens browned bits from the pan. As it reduces, the spices bloom in the liquid and coat the meat in a light, spoon-clinging sauce, so every bite stays juicy instead of greasy.
One pan, minimal cleanup. Onion, beef, seasoning, and water all share the same skillet, which means fewer dishes after dinner and more time eating with family. Because the seasoning doubles as flavor and thickener, you don’t need tomato paste or extra thickeners that dirty more utensils.
Leftovers earn multiple encore meals. The seasoned beef stashes well in the fridge for three days and freezes for two months. Fold cooled meat into quesadillas, scatter it over nachos, or spoon it into lettuce wraps for a fast lunch. A single batch keeps on giving.
Ingredients & Substitutions
- Homemade Taco Seasoning – Garlic powder, onion powder, regular paprika, smoked paprika, chili powder, cumin, cayenne, oregano, salt, and pepper. Skip the cayenne for a kid-friendly mild mix, or double it for heat lovers.
- Ground Beef – 80/20 provides flavor without drying out; leaner beef works but may need an extra teaspoon of oil. Turkey or plant-based crumbles fit right in—just watch the cook time so they don’t over-dry.
- Onion – A small yellow onion melts sweetly into the beef. Red onion or shallot swap in easily and add a subtle twist.
- Olive Oil – Helps the onion soften and seasons the pan so beef browns evenly. Any neutral oil—canola, avocado—gets the job done.
- Corn or Flour Tortillas – Corn gives you that classic street-taco chew, while flour offers a softer, larger wrap. Use what you love or what’s in the pantry.
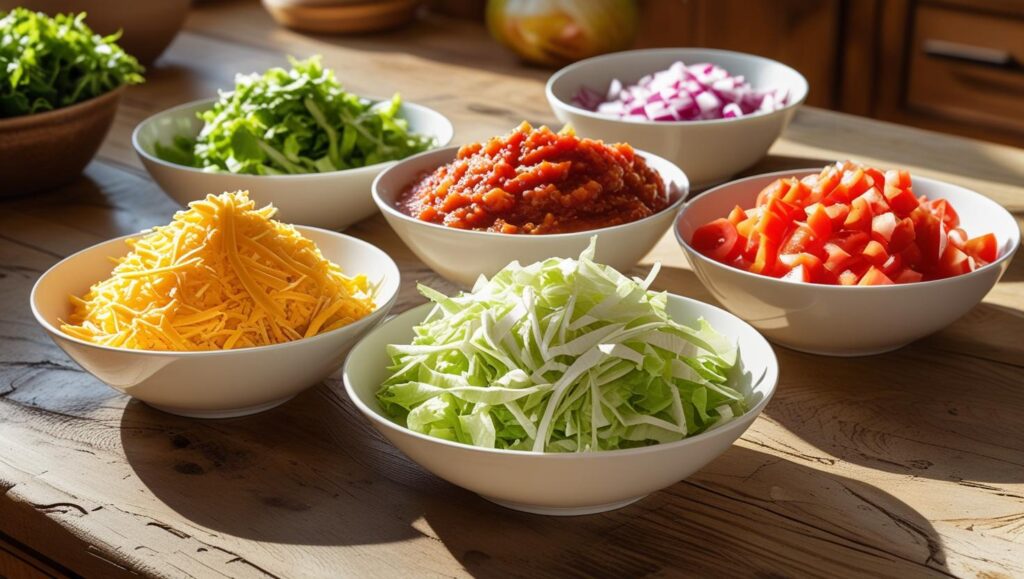
- Toppings – Shredded lettuce, diced tomatoes, cheese, sour cream, salsa, sliced jalapeños, fresh cilantro. Pick two or pile on everything; tacos forgive creative license.
My Top Tips
- Achieve tiny, scoop-friendly crumbles. Press the beef flat into the hot skillet for the first minute so it browns, then scrape and chop with a wooden spoon. Starting flat gives you flavorful sear; chopping afterward breaks everything into even pieces that tuck neatly into tortillas.
- Season in layers, not just at the end. Sprinkle the spice blend over meat that’s mostly browned but still has a little pink. The fat still present in the beef captures the spices, and the last few minutes of cooking coax deeper flavor out of every grain.
- Warm tortillas right before serving. A dry skillet (or open burner flame for corn) brings out their aroma and softens them so they fold without cracking. As they heat, wrap them in a clean towel to trap steam and keep them flexible on the table.
- Rest the filling. Turning off the heat and letting the meat sit for two minutes keeps juices from rushing out the instant you spoon it. The brief pause means less drip and more flavor in your taco—not on your plate.
Variations & Serving Ideas
Cheesy Taco Cups – Press small flour tortillas into muffin tins, bake until just crisp, then fill with hot beef and sprinkle cheese. Return to the oven until melted for two-bite party fare.
Taco Salad – Build a bed of romaine, scatter crushed tortilla chips, spoon on warm beef, and drizzle lime-yogurt dressing for a crunchy dinner salad.
Stuffed Peppers – Fill roasted bell peppers with beef, rice, and salsa; top with cheese and bake until bubbly for an easy make-ahead lunch box option.
FAQs
Yes. Cook the beef, cool it, and refrigerate up to 3 days. Reheat in a skillet with a splash of water to refresh the sauciness.
Medium. Omit cayenne for mild tacos or add minced jalapeño to light your taste buds on fire.
Absolutely. Pack cooled meat in freezer bags, press out air, and freeze for 2 months. Thaw overnight in the fridge; reheat gently with a tablespoon of water.
For compact street-style tacos use two stacked corn tortillas. If you prefer larger, fold-and-hold tacos, soft flour tortillas keep fillings secure with fewer crumbs.
Easy Ground Beef Tacos With Homemade Seasoning
Ingredients
Method
- Blend the SeasoningMeasure all seasoning ingredients into a small bowl. Whisk until the color looks uniform, breaking up any oregano clumps with your fingers. Funnel the mix into a 4-oz jar; label and date it so you remember the heat level next time.
- Soften the OnionSet a large skillet over medium heat and pour in the olive oil. When the oil shimmers, add the chopped onion. Stir occasionally for 3–4 minutes until the pieces look translucent and smell sweet, not raw.
- Brown the BeefCrumble the ground beef into the skillet in an even layer. Let it sit untouched for 60 seconds to sear, then use a wooden spoon to break it into small bits. Continue cooking 5–7 minutes, stirring now and then, until no pink remains. If more than a tablespoon of fat pools at the bottom, carefully spoon it off.
- Season and SimmerSprinkle 1 tablespoon of the homemade taco seasoning evenly over the meat. Pour in ¼ cup water and stir, scraping up browned bits stuck to the pan. Lower heat to medium-low and simmer 3–5 minutes. The liquid will reduce and form a glossy coating that clings to the beef.
- Rest the FillingTurn off the burner, taste for salt, and let the mixture stand in the skillet for 2 minutes. This brief rest allows juices to redistribute so they stay in the taco instead of on your hands.
- Warm the TortillasMeanwhile, heat a clean dry skillet over medium. Lay a tortilla flat and toast 20–30 seconds per side until soft spots puff and light char marks appear. Transfer to a towel-lined plate and cover. Repeat with the rest. For a microwave option, wrap tortillas in a damp paper towel and heat 30 seconds.
- Assemble and ServeSpoon about ¼ cup of seasoned beef into each warm tortilla. Top with lettuce, tomatoes, cheese, and any extras you love. Serve right away while everything is steamy and fresh.
Notes
-
Blend the SeasoningMeasure all seasoning ingredients into a small bowl. Whisk until the color looks uniform, breaking up any oregano clumps with your fingers. Funnel the mix into a 4-oz jar; label and date it so you remember the heat level next time.
-
Soften the OnionSet a large skillet over medium heat and pour in the olive oil. When the oil shimmers, add the chopped onion. Stir occasionally for 3–4 minutes until the pieces look translucent and smell sweet, not raw.
-
Brown the BeefCrumble the ground beef into the skillet in an even layer. Let it sit untouched for 60 seconds to sear, then use a wooden spoon to break it into small bits. Continue cooking 5–7 minutes, stirring now and then, until no pink remains. If more than a tablespoon of fat pools at the bottom, carefully spoon it off.
-
Season and SimmerSprinkle 1 tablespoon of the homemade taco seasoning evenly over the meat. Pour in ¼ cup water and stir, scraping up browned bits stuck to the pan. Lower heat to medium-low and simmer 3–5 minutes. The liquid will reduce and form a glossy coating that clings to the beef.
-
Rest the FillingTurn off the burner, taste for salt, and let the mixture stand in the skillet for 2 minutes. This brief rest allows juices to redistribute so they stay in the taco instead of on your hands.
-
Warm the TortillasMeanwhile, heat a clean dry skillet over medium. Lay a tortilla flat and toast 20–30 seconds per side until soft spots puff and light char marks appear. Transfer to a towel-lined plate and cover. Repeat with the rest. For a microwave option, wrap tortillas in a damp paper towel and heat 30 seconds.
-
Assemble and ServeSpoon about ¼ cup of seasoned beef into each warm tortilla. Top with lettuce, tomatoes, cheese, and any extras you love. Serve right away while everything is steamy and fresh.